My dad and I planned to work on a drawer system for the truck in the late fall of 2018, during my recovery time after Open Heart Surgery. With the recovery time at lot faster than both of us had expected, we instead worked on them over a few weekend days when the weather was nice. For our first attempt, I’m pretty excited on how they turned out. Most everything was sourced from the local Home Depot.
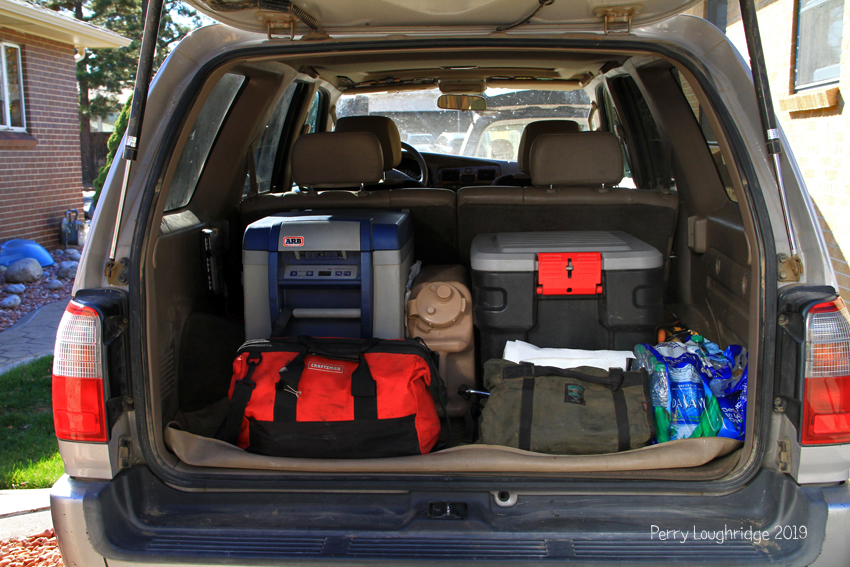
This was my storage set up over the summer of 2018. Organized yes, but could be better.
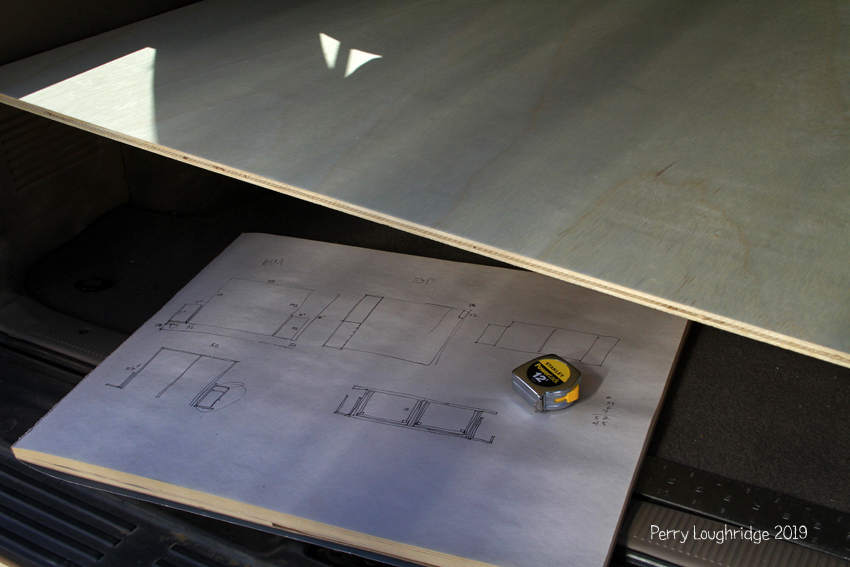
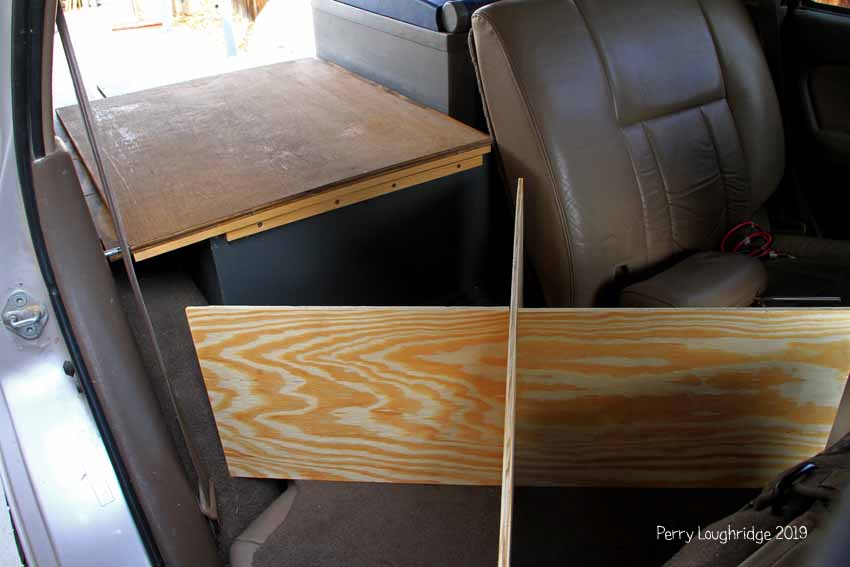
Planning things out.
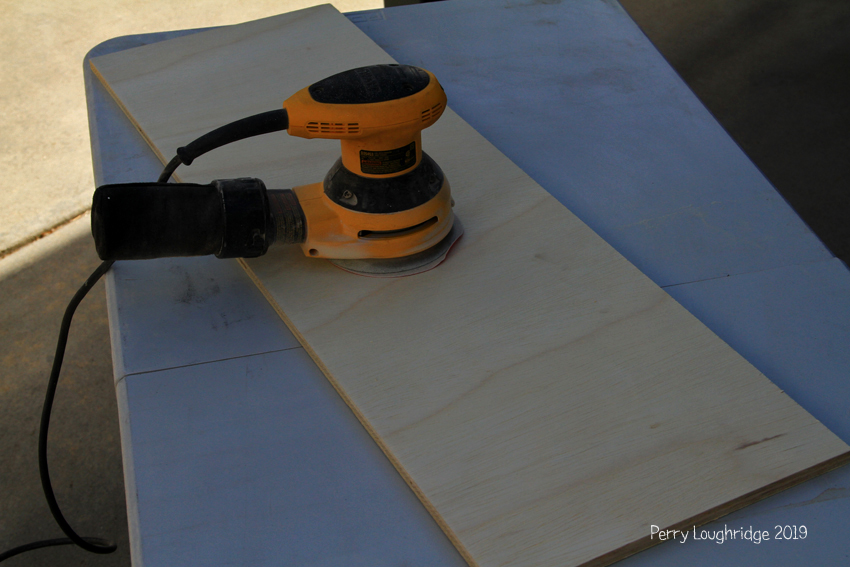
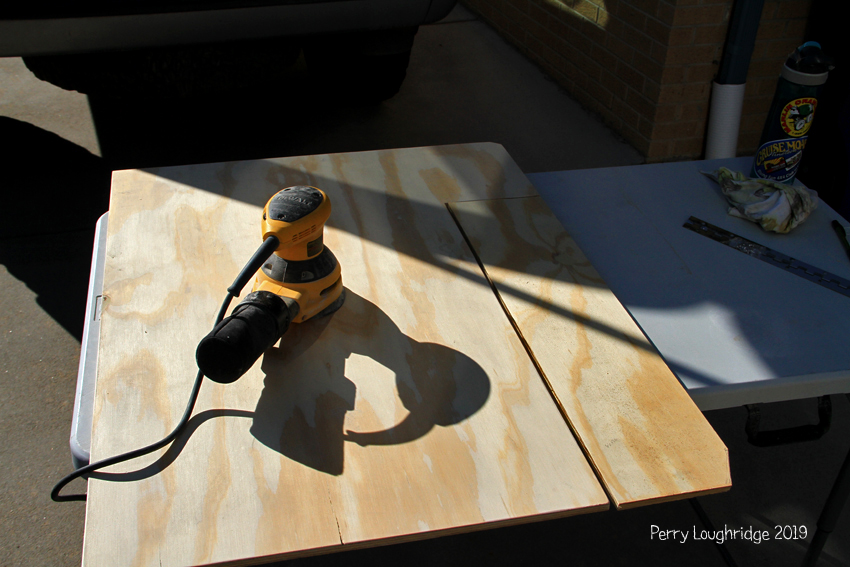
Lots of sanding of parts.
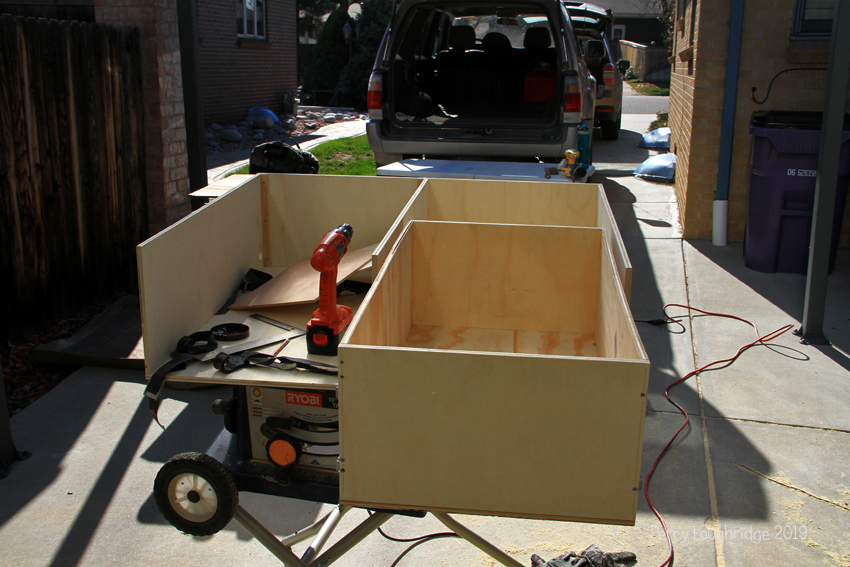
Assembly begins.
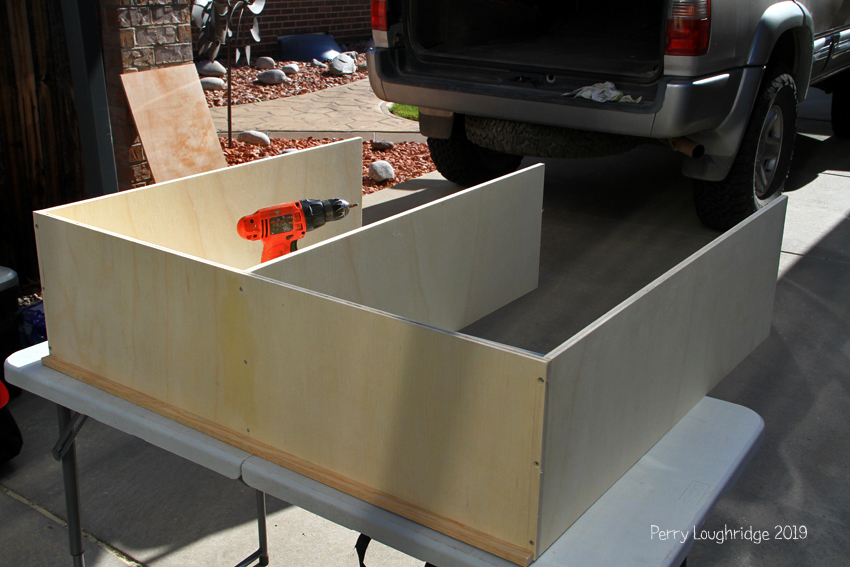
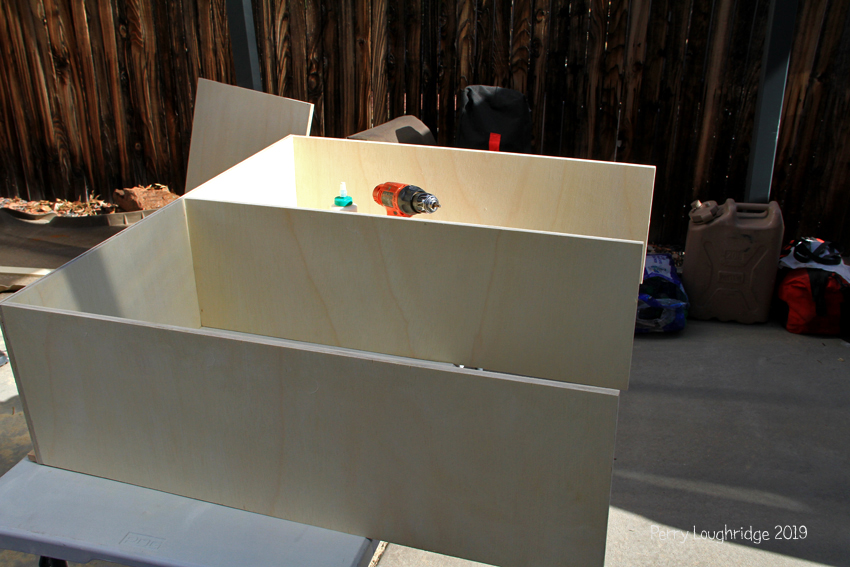
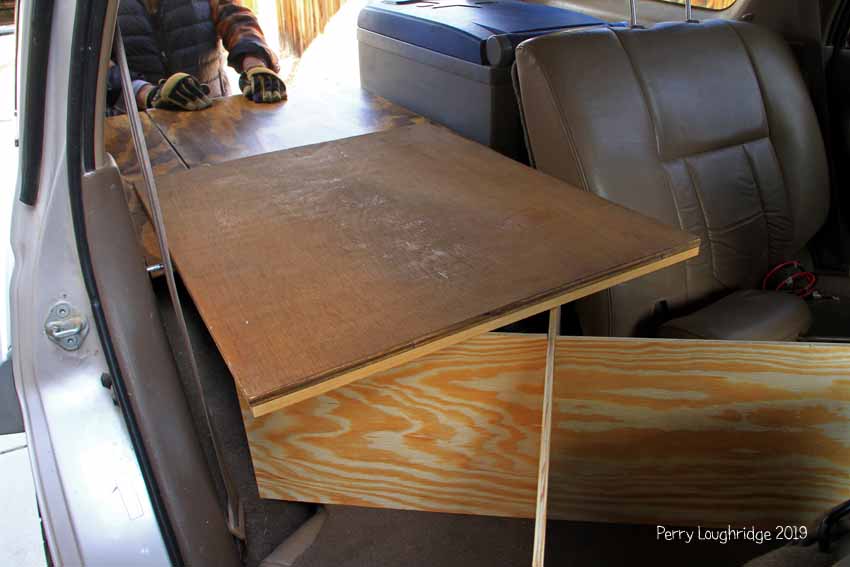
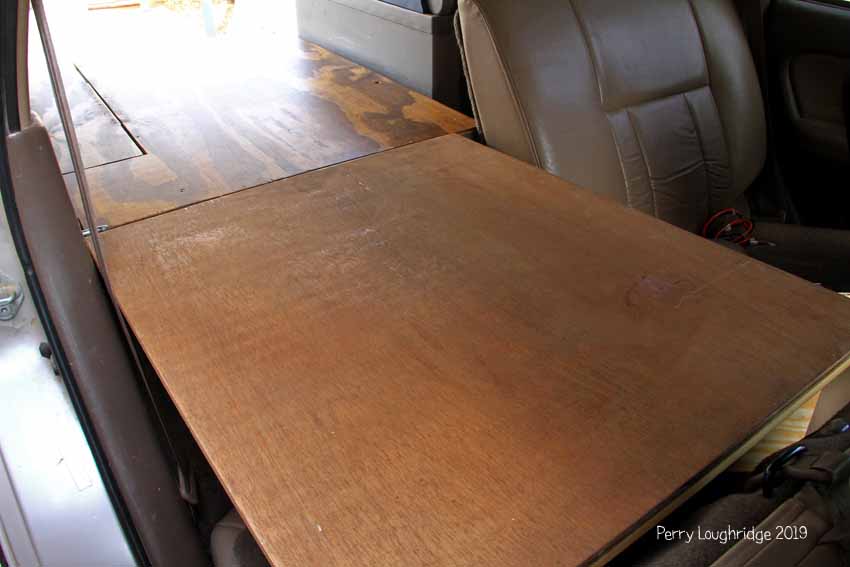
Test fitting. Lots of this would take place.
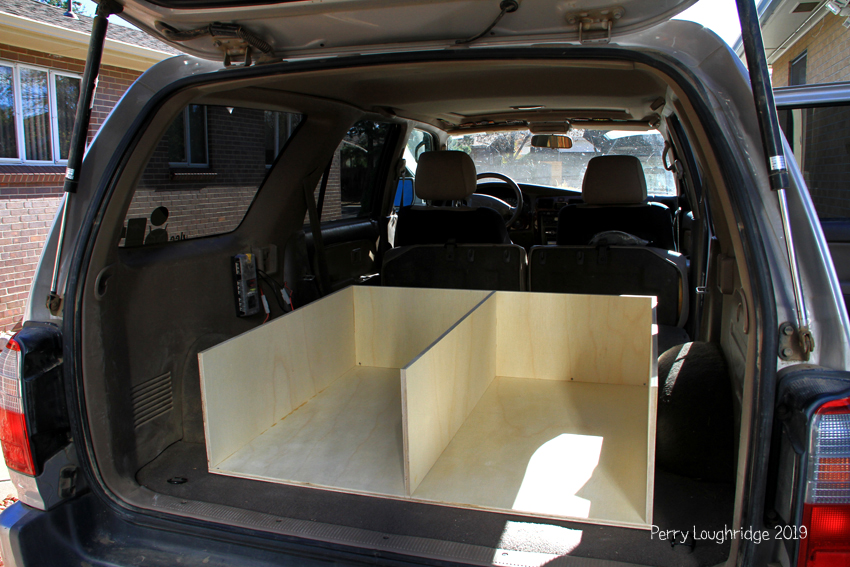
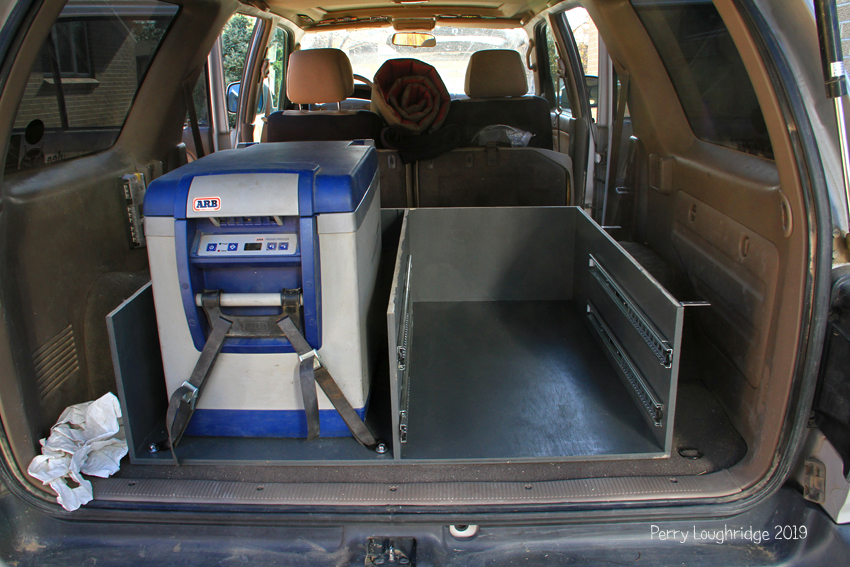
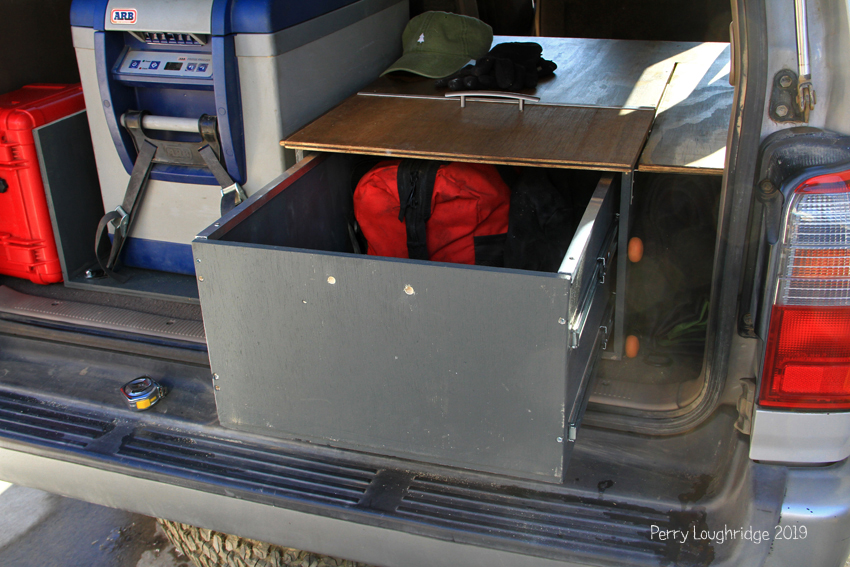
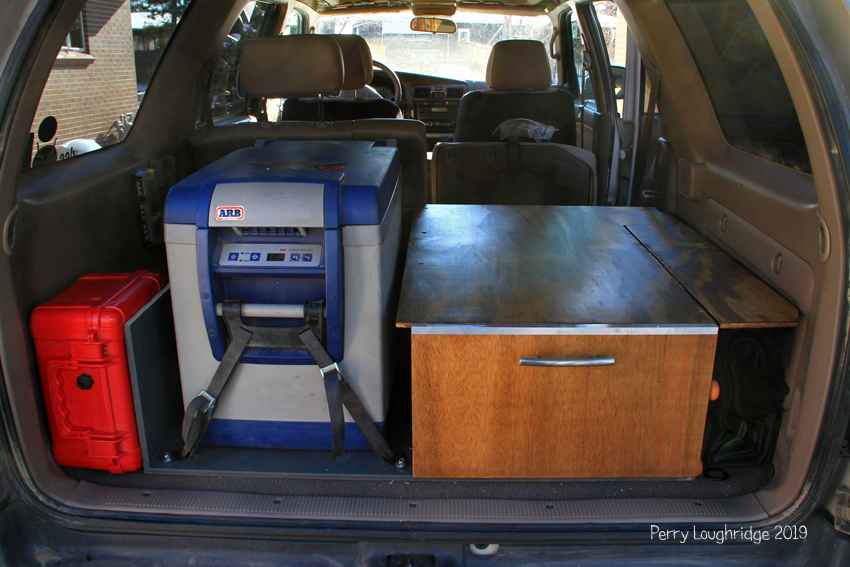
Test fitting the Fridge. Originally had it planned to have two drawers and the Fridge on top, but that was getting to awkward, so we re did plans and went with one drawer.

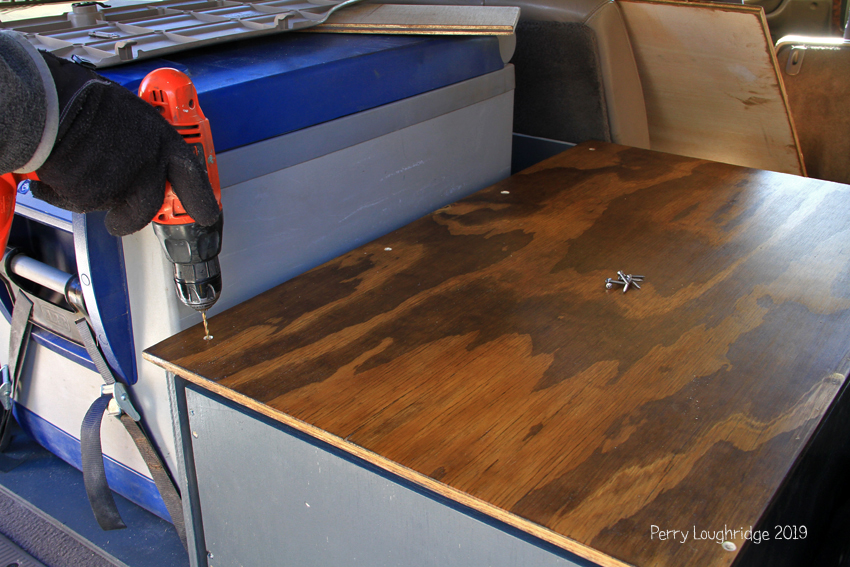
Sanding the top part of the drawer, getting it ready for stain.
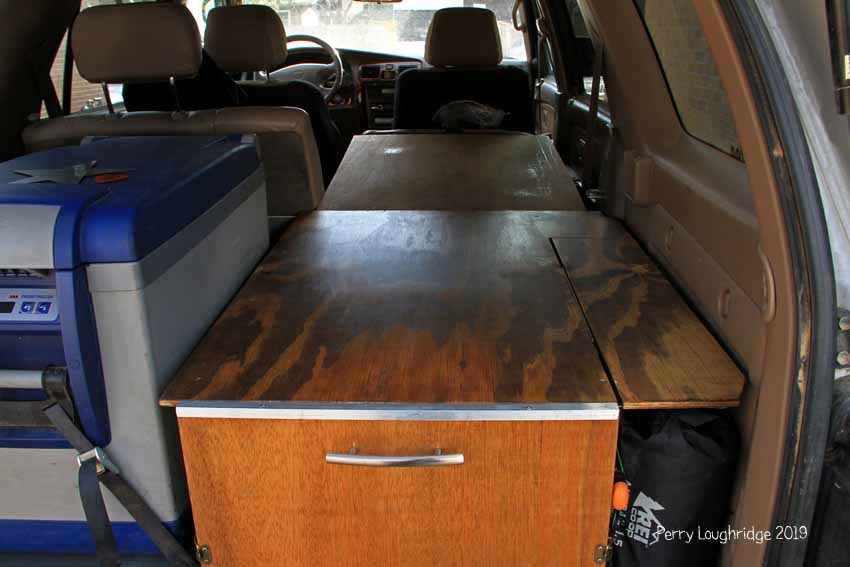
Applied an “Early American” stain to the top of the drawer with the hopes of it matching the other wood trim in the truck.
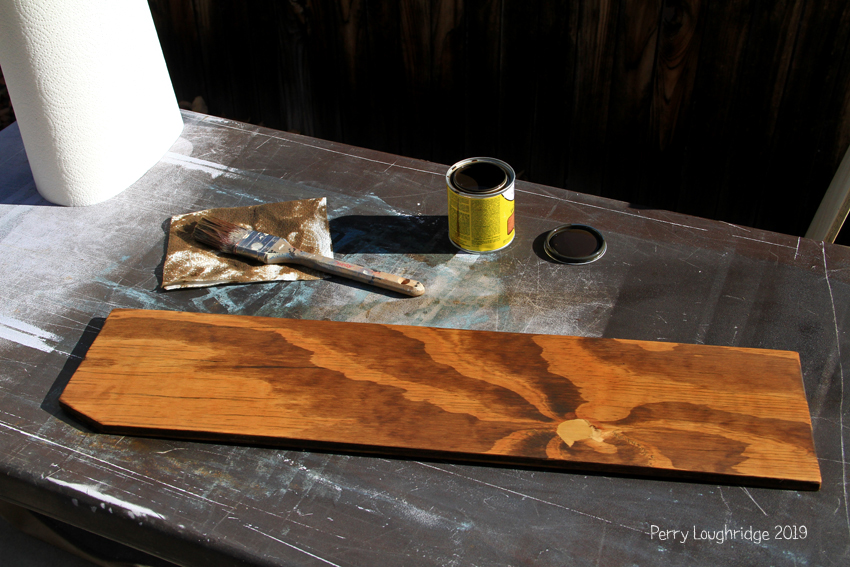
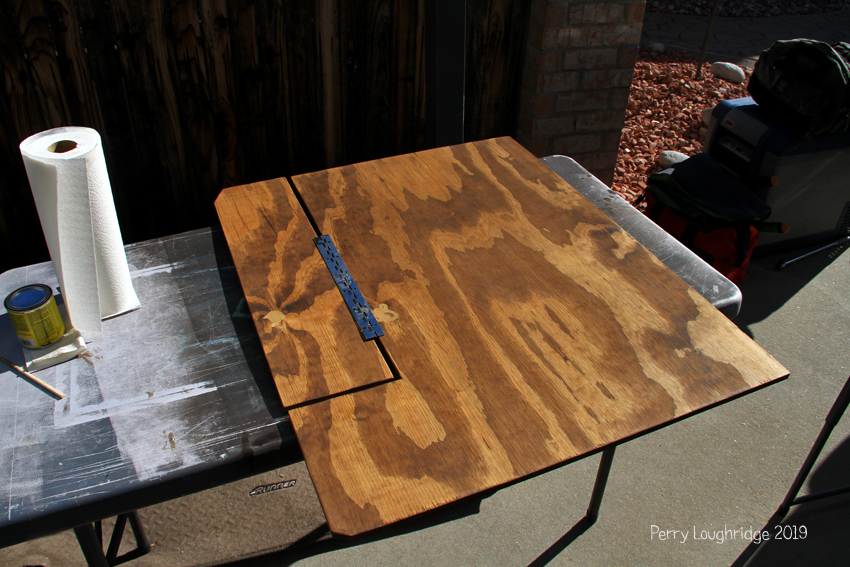
Top stained.
More assembly.
Applying a few coats of “Polyurethane Sealant”. Best to do this in warm weather so everything can dry properly.
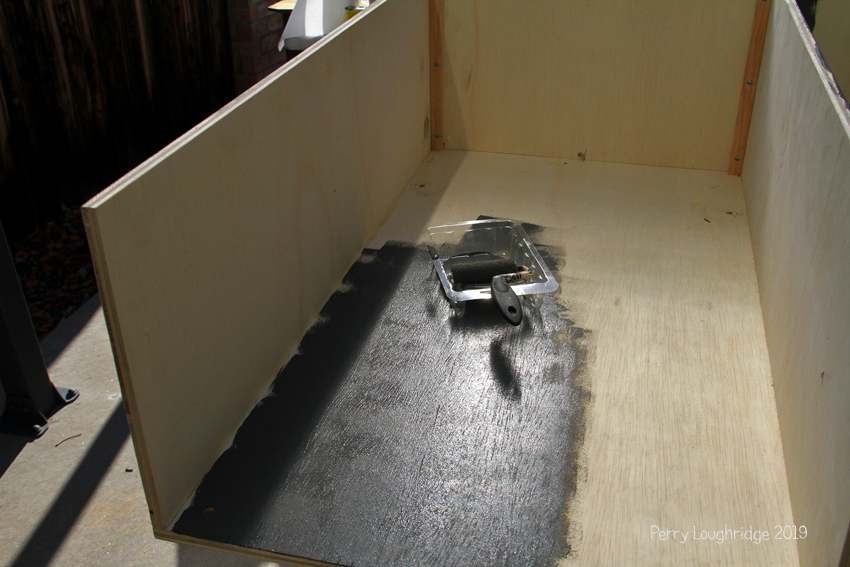
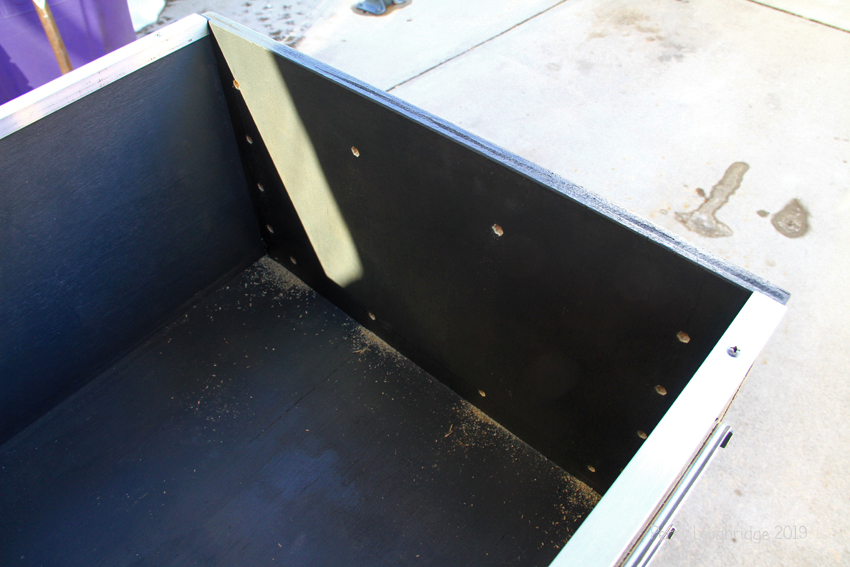
Painting the drawer base.
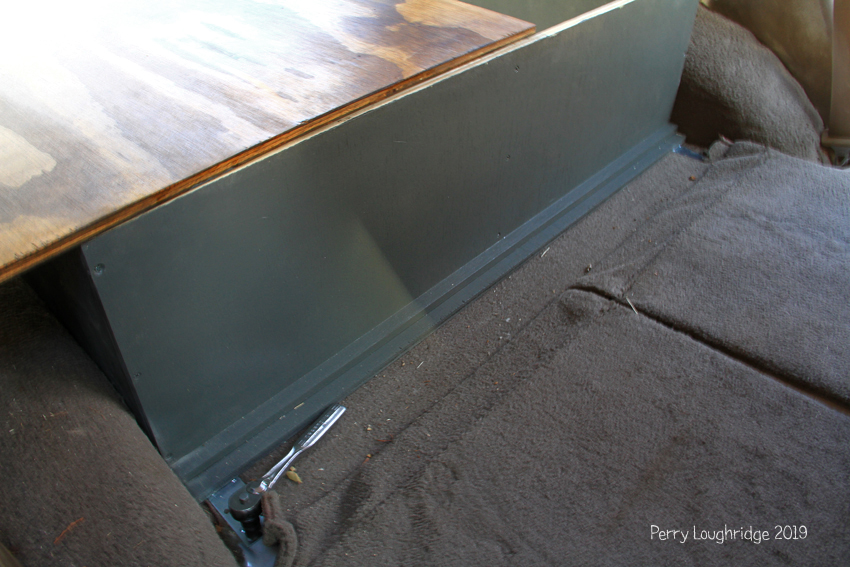
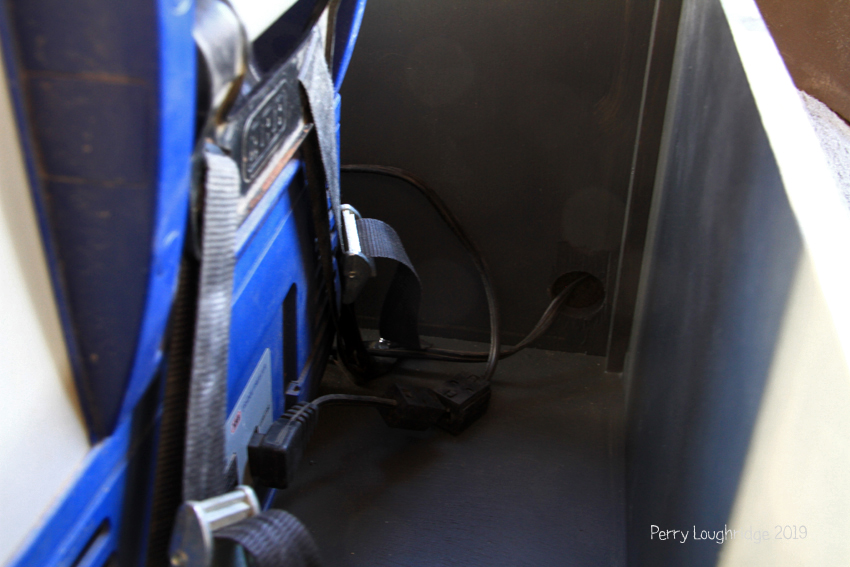
We used the existing rear tie down points to secure the drawers.
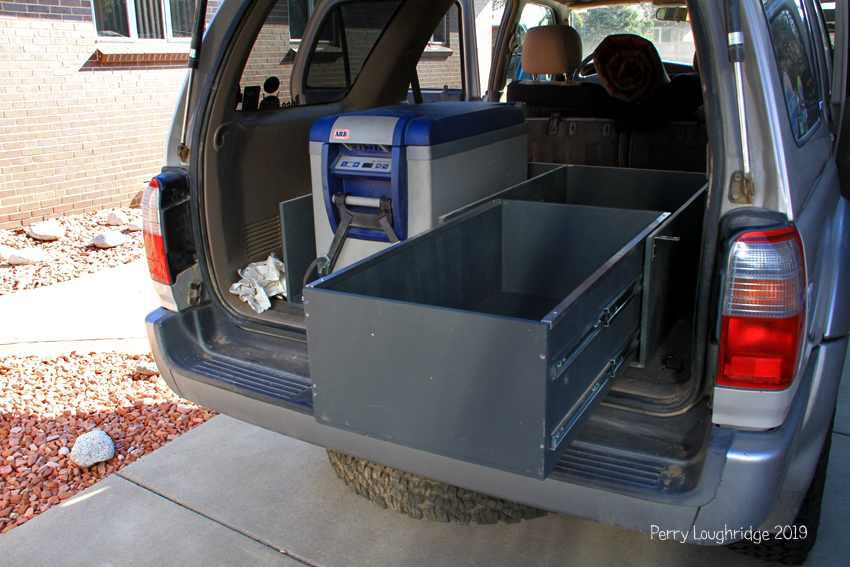
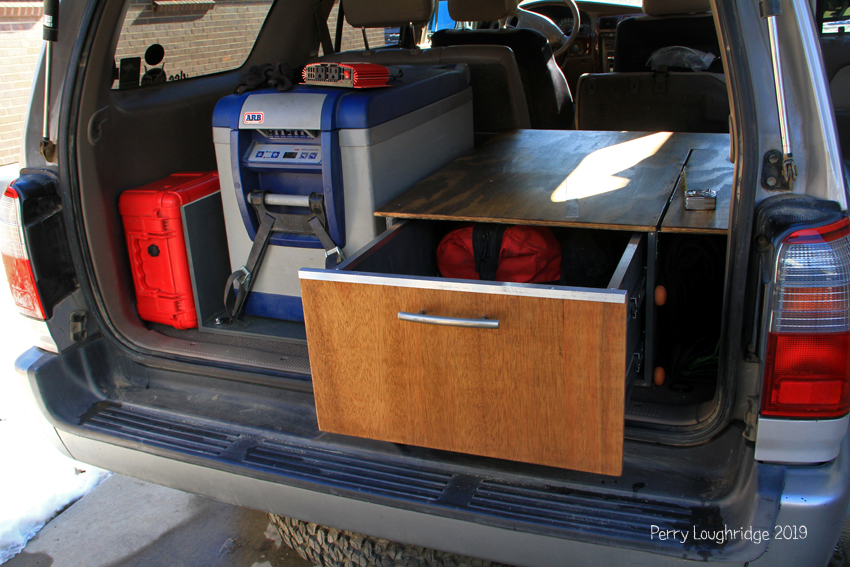
Drawer base mounted up, along with the ARB straps for the Fridge ( had these from my old 4runner). Two 100lb slides were used for the one drawer.
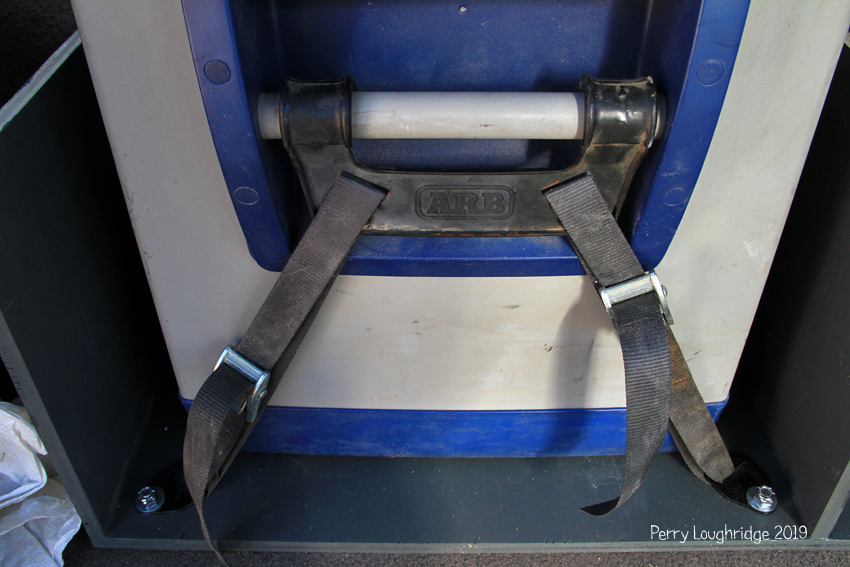
ARB tie downs for the Fridge.
Running the wiring from the external Blue Seas fuse block in the back to the Fridge.
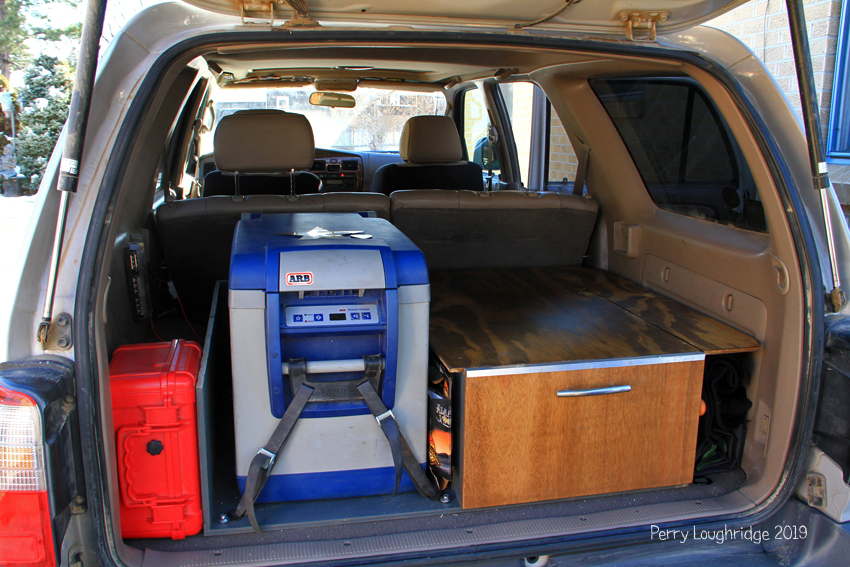
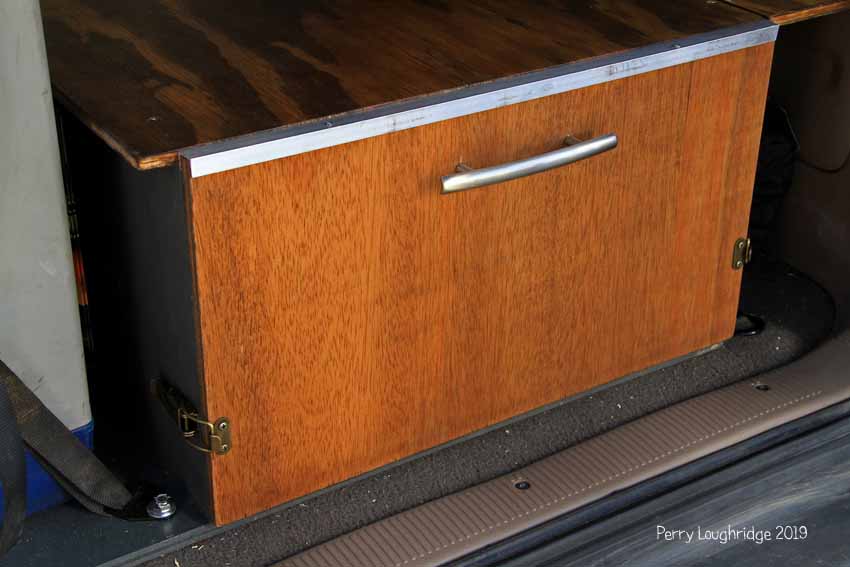
Drawer installed.

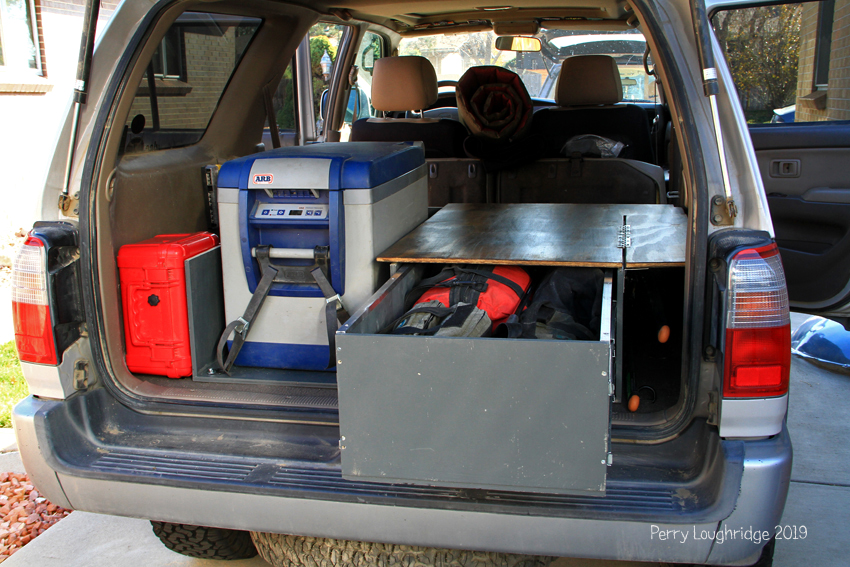
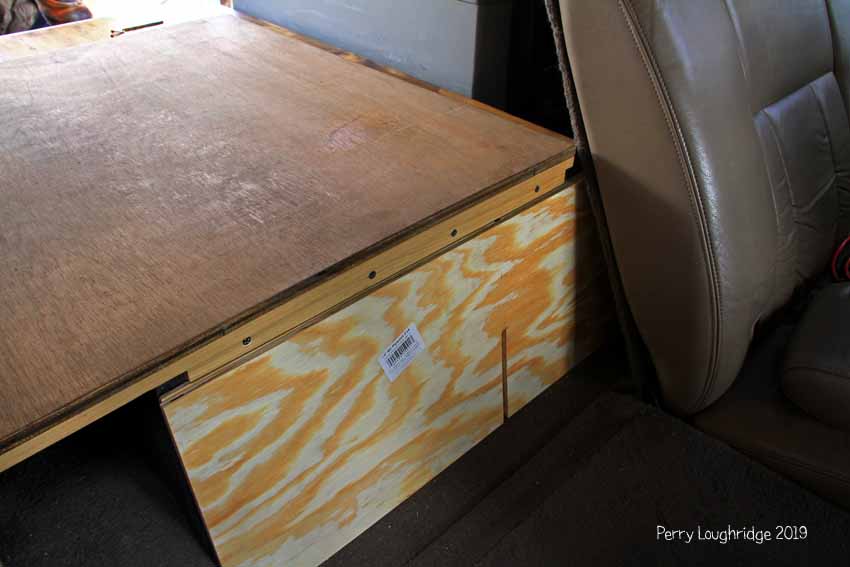
Test fitting gear and the drawer top.
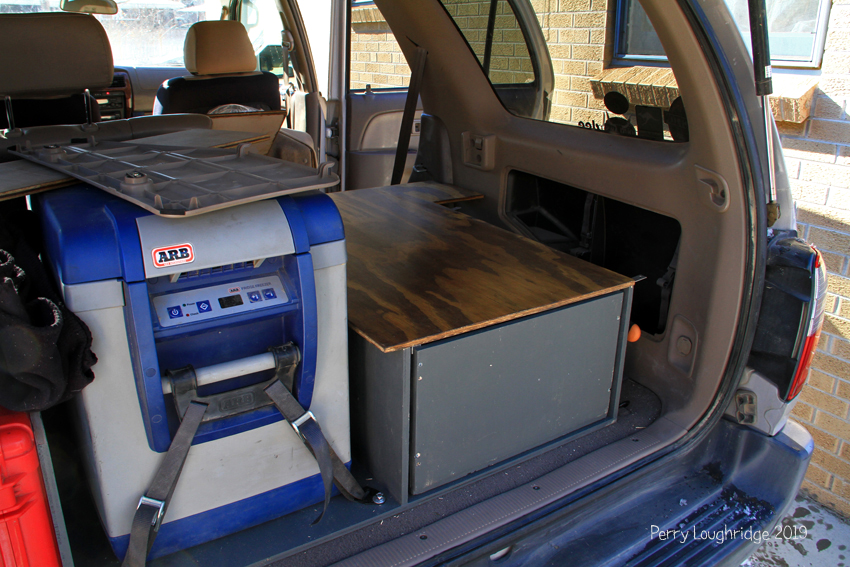
Mounting the top to the base. Everything that was assembled and screwed, we pre drilled, counter sunk and used wood glue.
Getting ready to mount the face of the drawer
Drawer face and handle mounted.
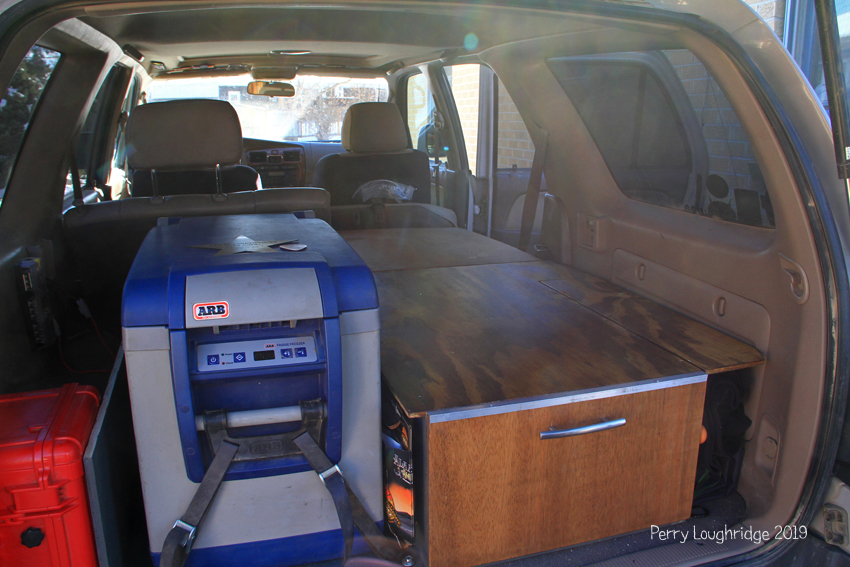
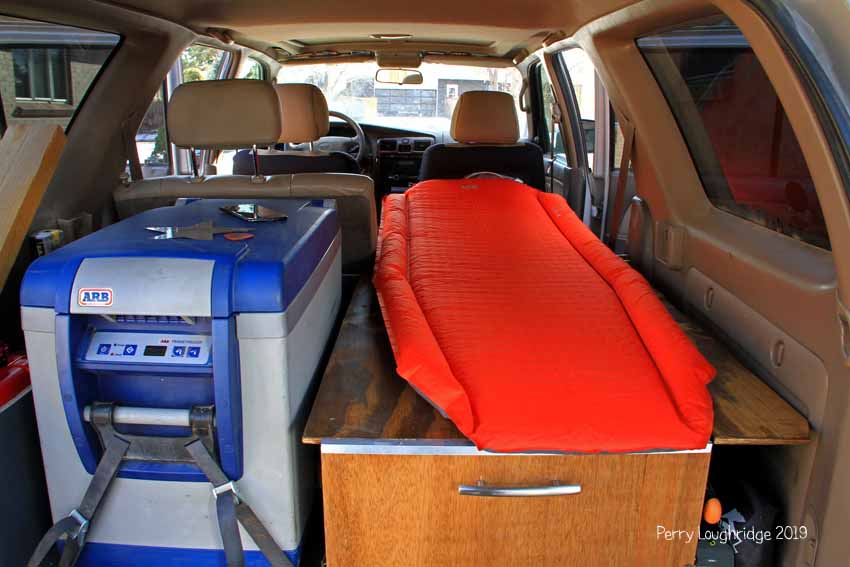
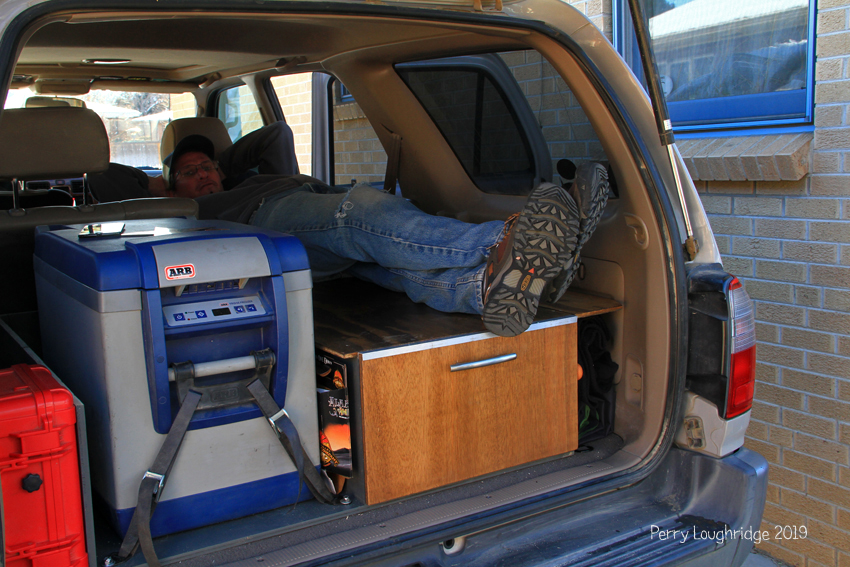
Testing out the sleeping platform.
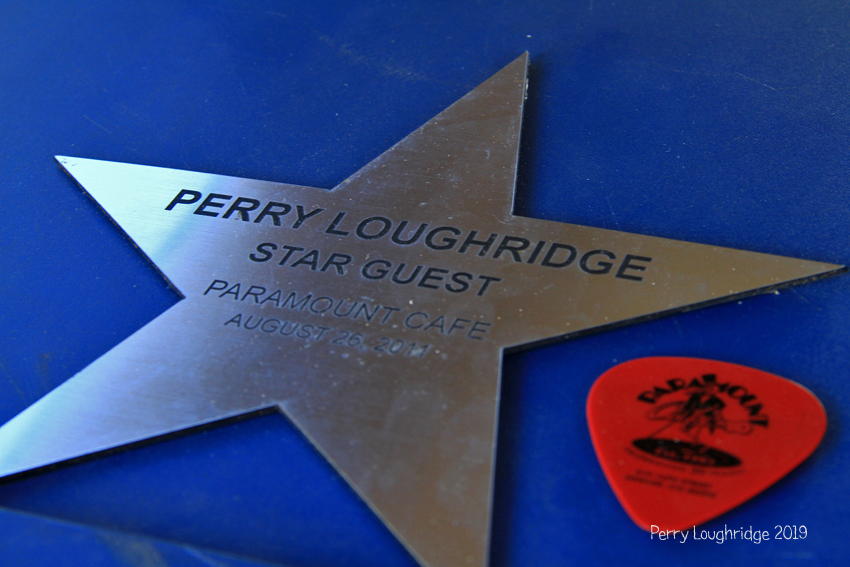
Found a good spot for my “Star” from the Paramount Cafe in Denver, a bar that sadly closed up in the summer of 2018.
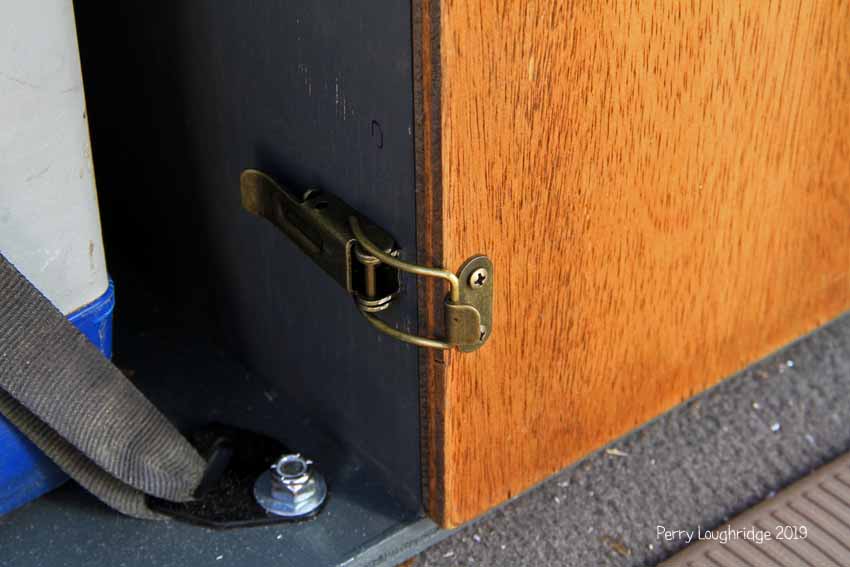
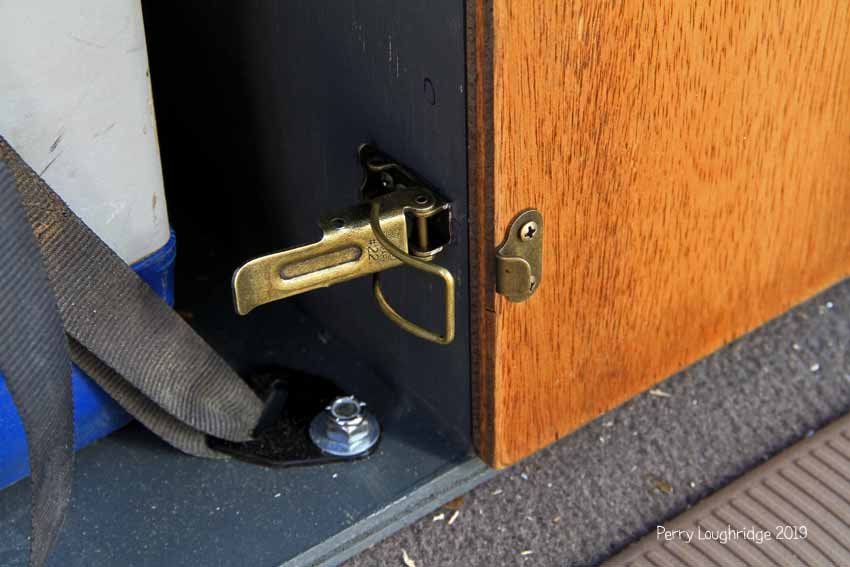
Picked up these latches from Rockler for 10$.
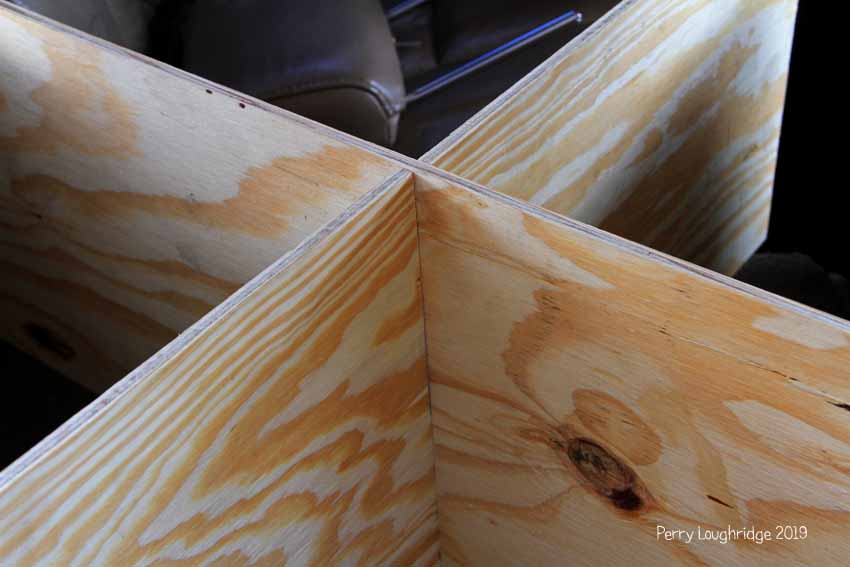
Sleeping platform and the base. Kept things simple with an “x” as the base. Easy to assemble and stows away nicely behind the seats.
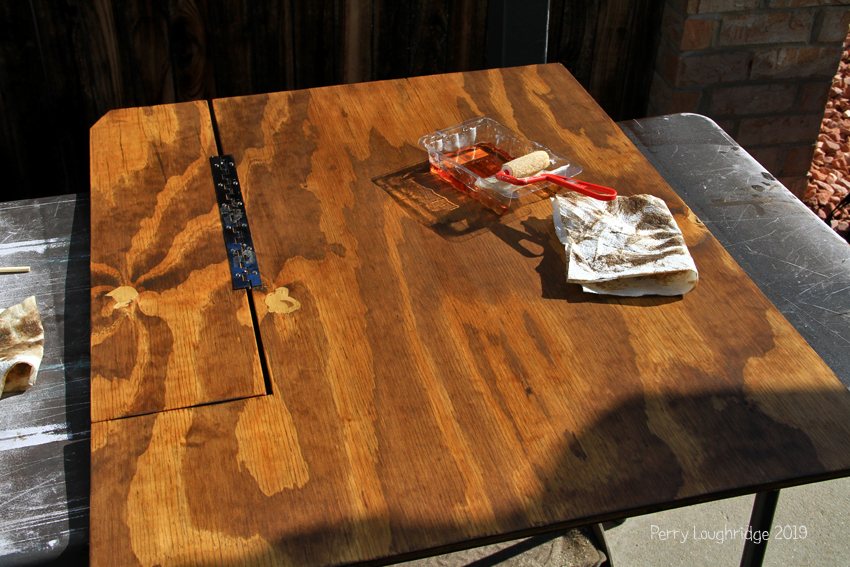
Used the table saw to cut a slot in the boards down the center.
Boards tucked away behind the seats. Put a bracket at one end to hold them in place so they don’t slide around.
Planning on this being home for a good amount of time this summer (2019) :).
