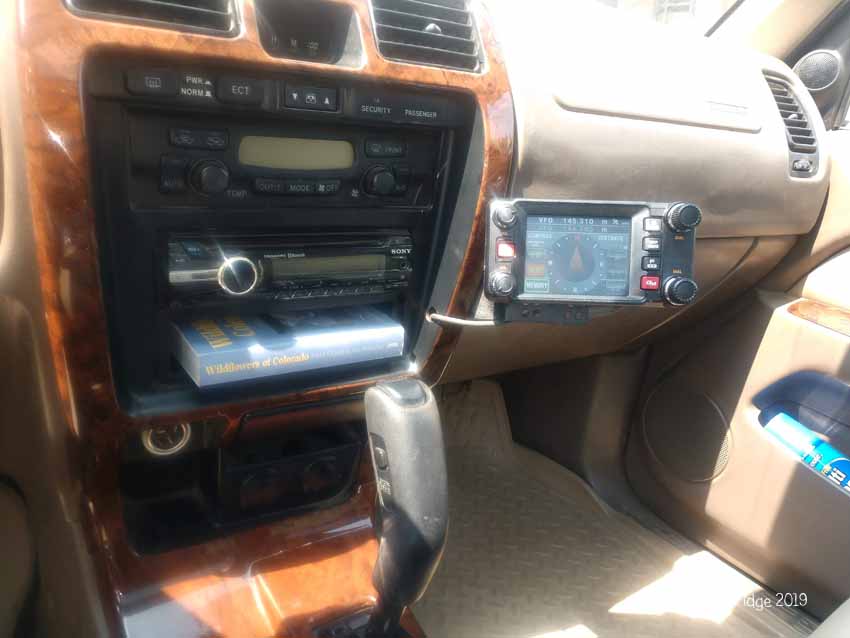
In the summer of 2018, I was able to install the Yeasu FTM-400xdr mobile Ham Radio unit. Some of the features that sold me on this radio are built in APRS, text messaging, and being able to run dual bands. Here are some pics of the install. I already had the external Blue Sea fuse block installed when I installed the ARB Fridge.
Though you have to be licensed to operate a Ham Radio, the quality of communication you can get with a Ham Radio unit is amazing. The club switched over to Ham Radios a long time ago, we haven’t looked back to CB’s since:).
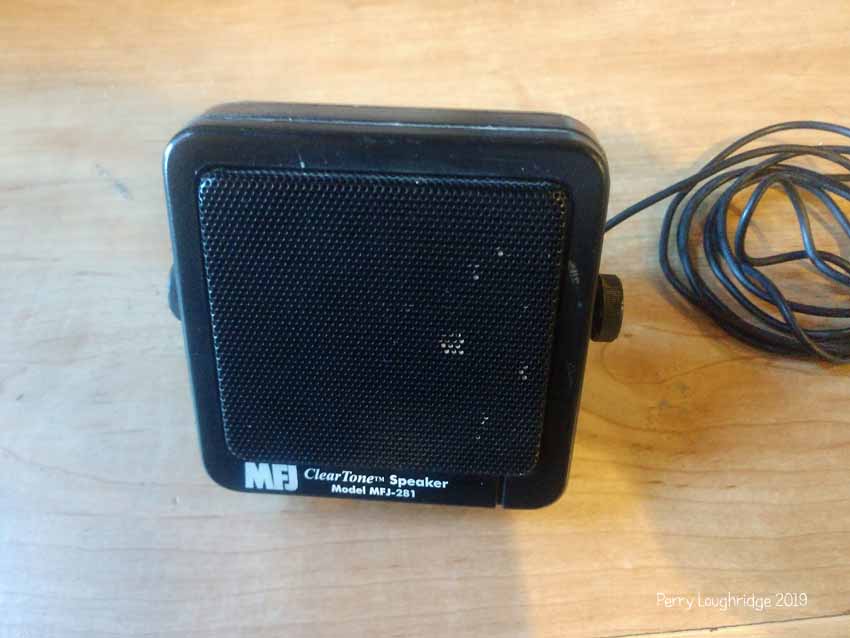
MFJ external speaker
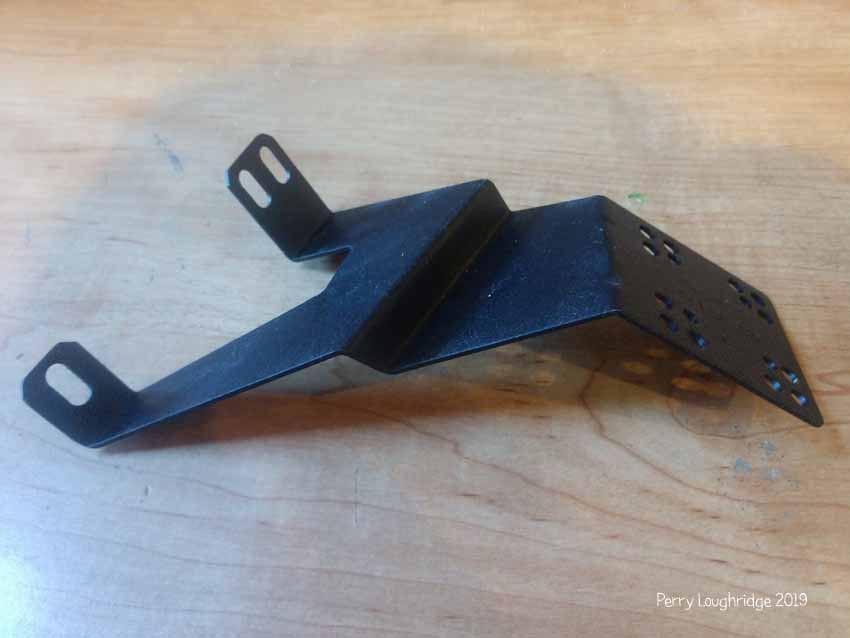
Panavise radio dash mount.
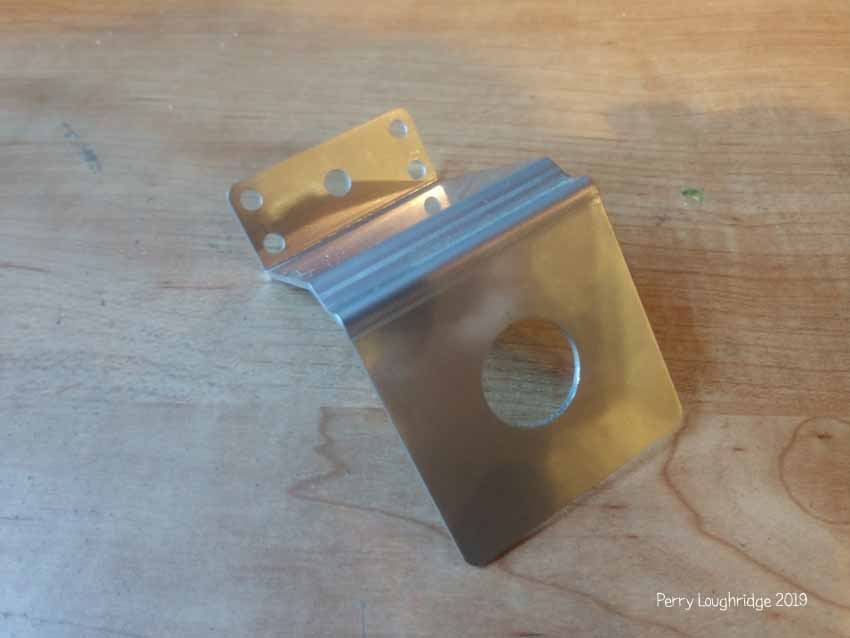
Gamiviti Antenna fender mount-passenger side.
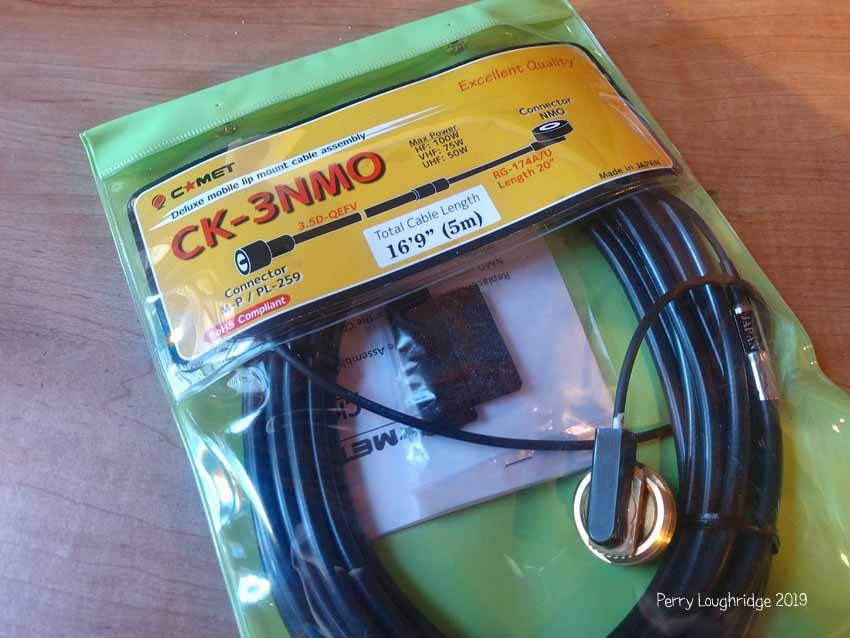
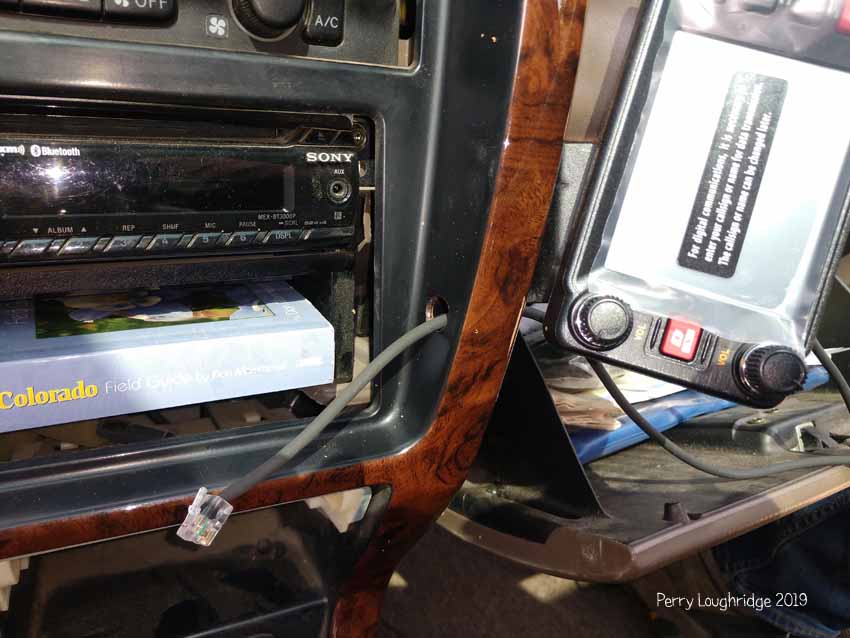
Comet Antenna-Radio cord.
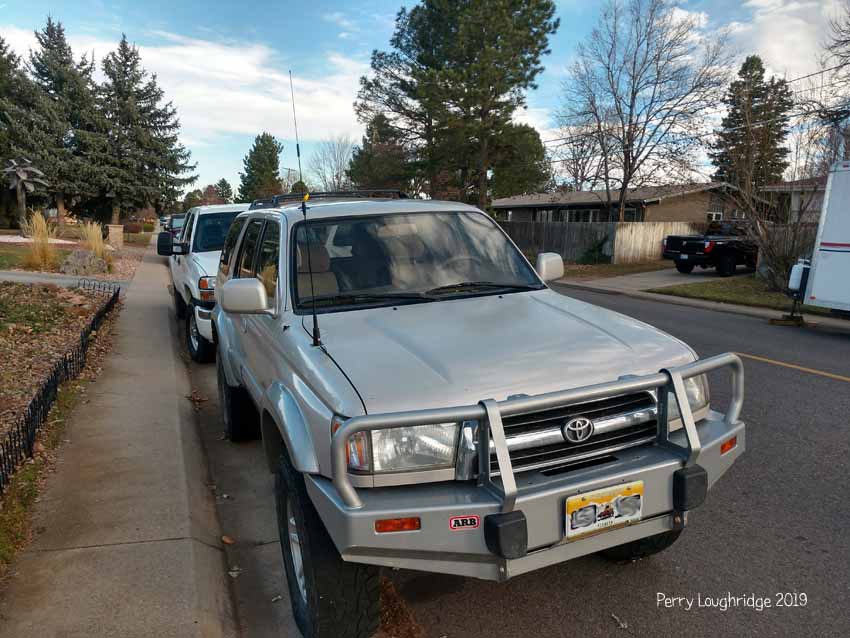
Comet dual band antenna and Gamiviti passenger side fender mount installed.
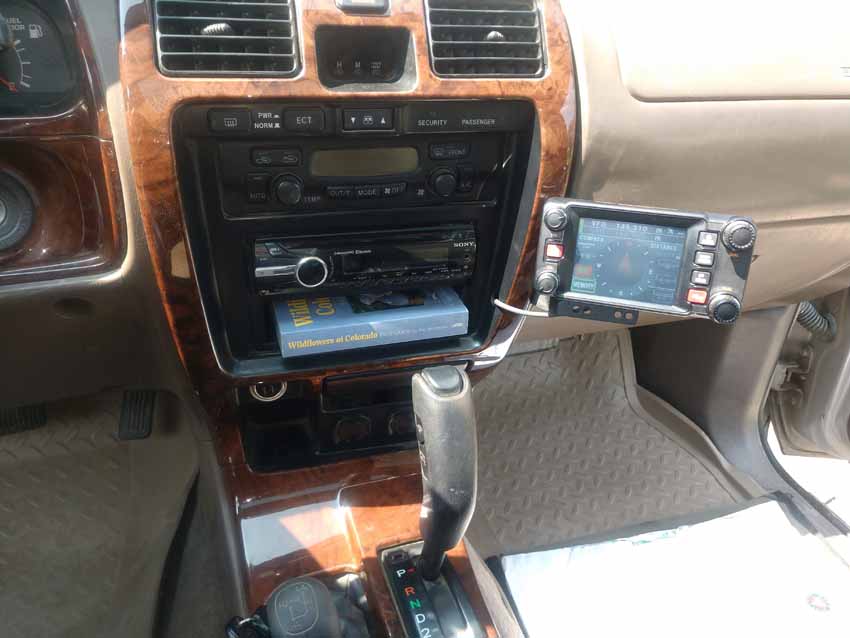
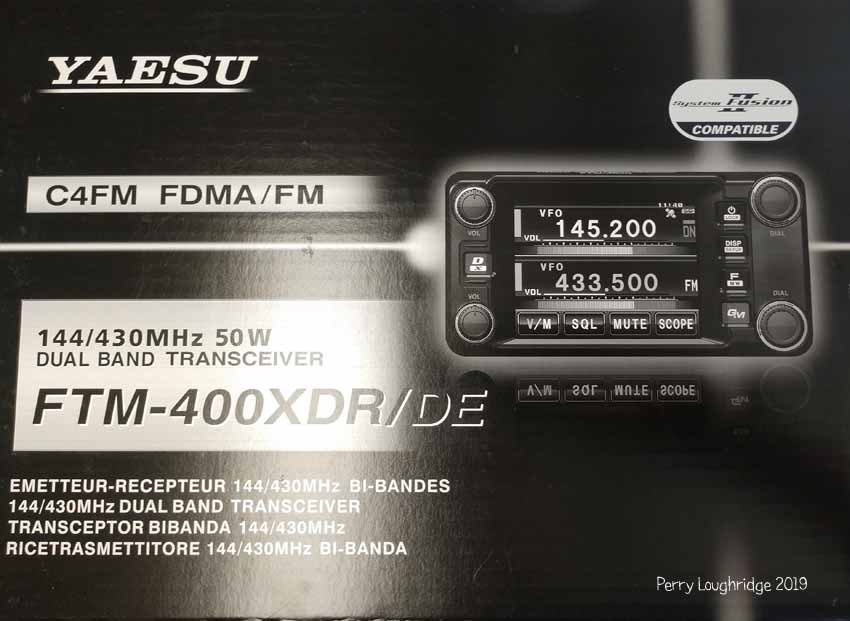
Yeasu FTM-400xdr radio.
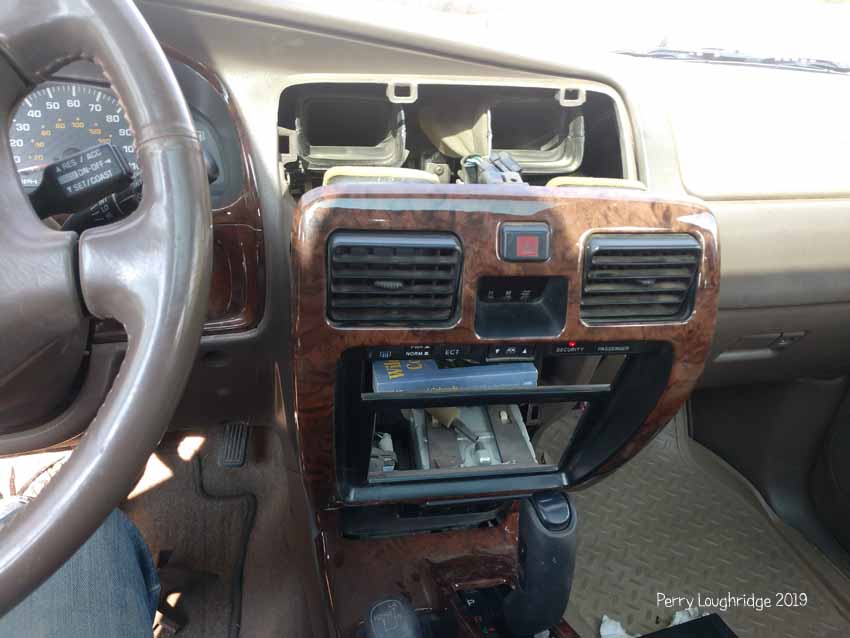
Removing the center dash trim.
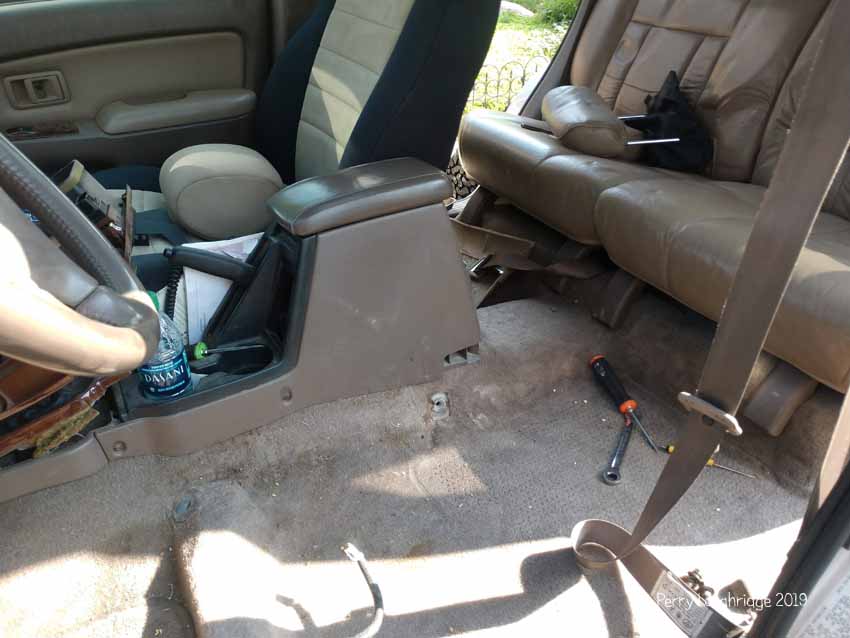
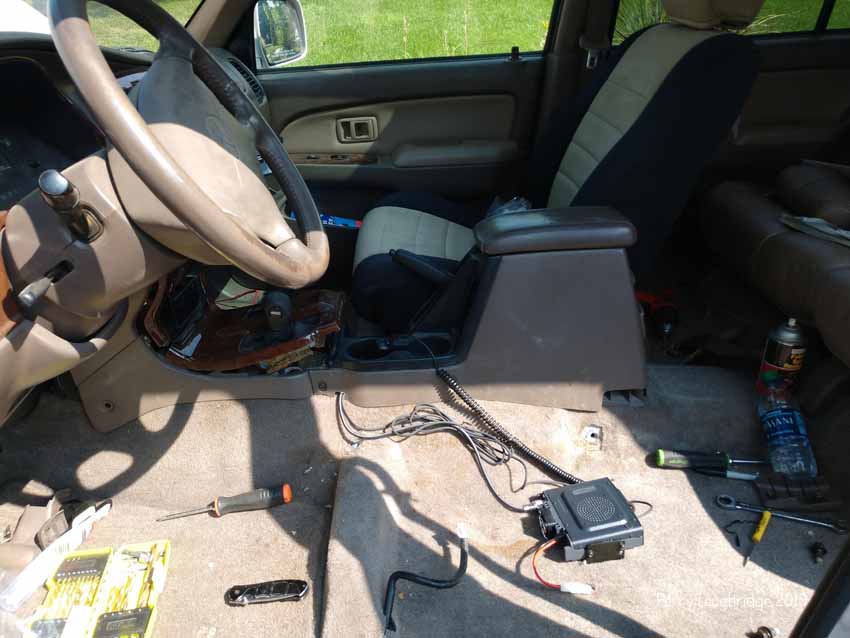
Driver seat removed.
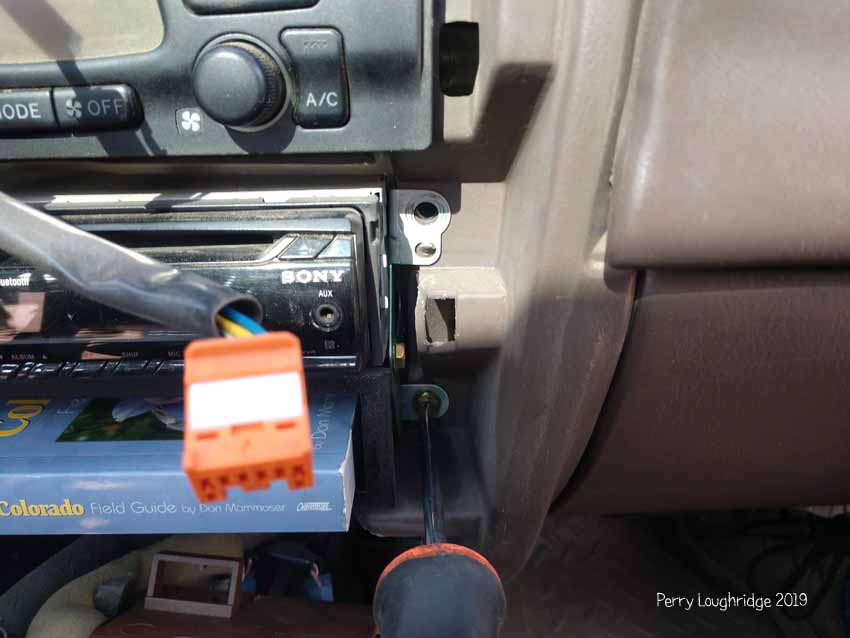
Installing the Panavise dash mount. It uses these two existing radio screws to be secured to the dash.
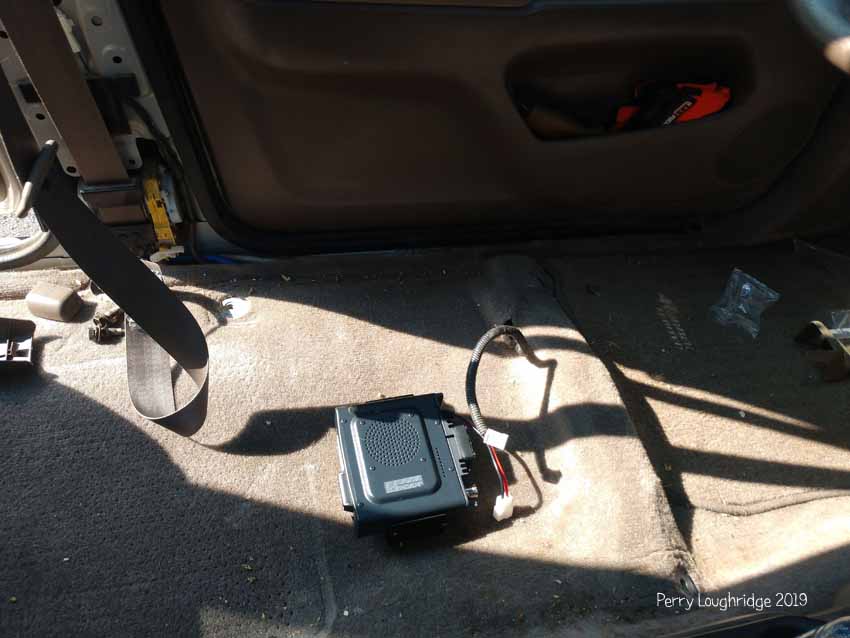
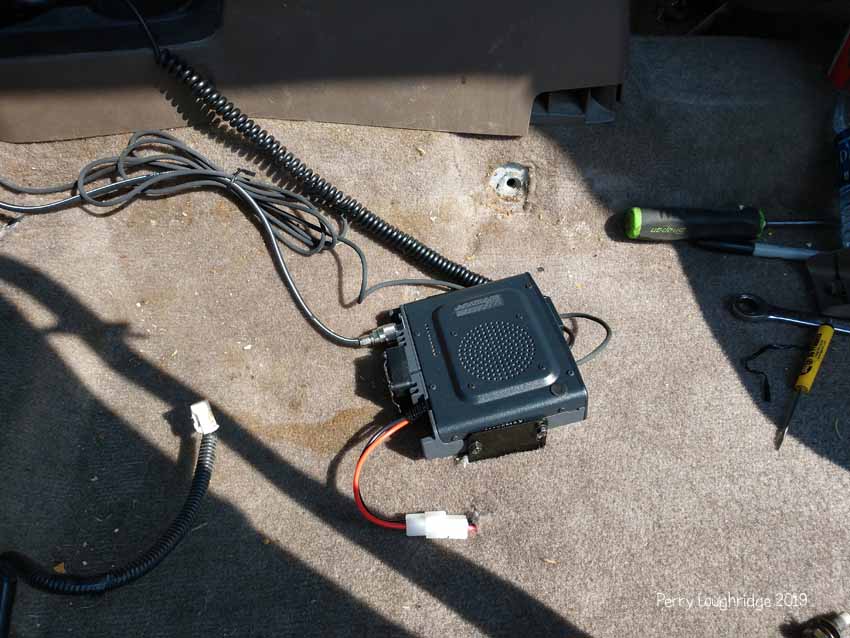
Installing the base of the FTM-400 under the driver side seat.
Installing the bracket for the base.
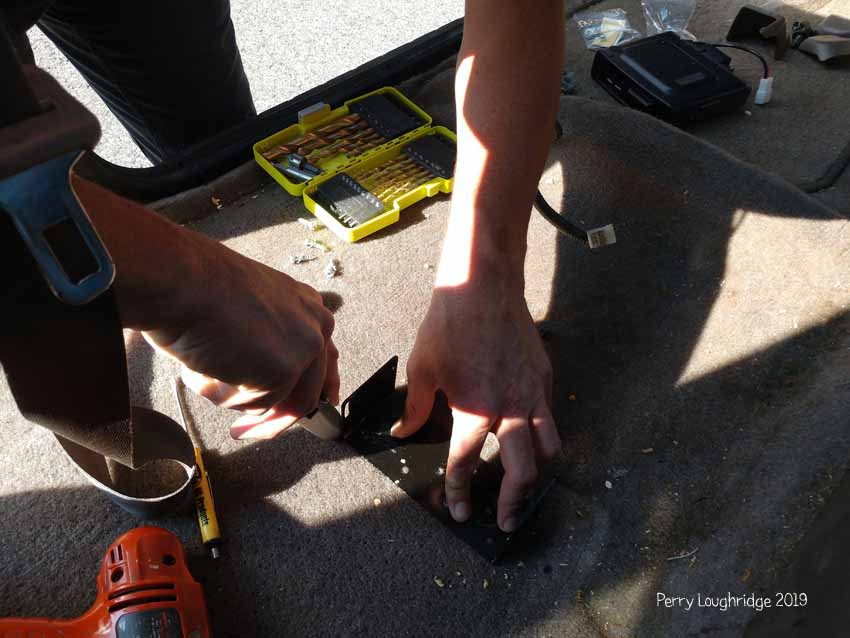
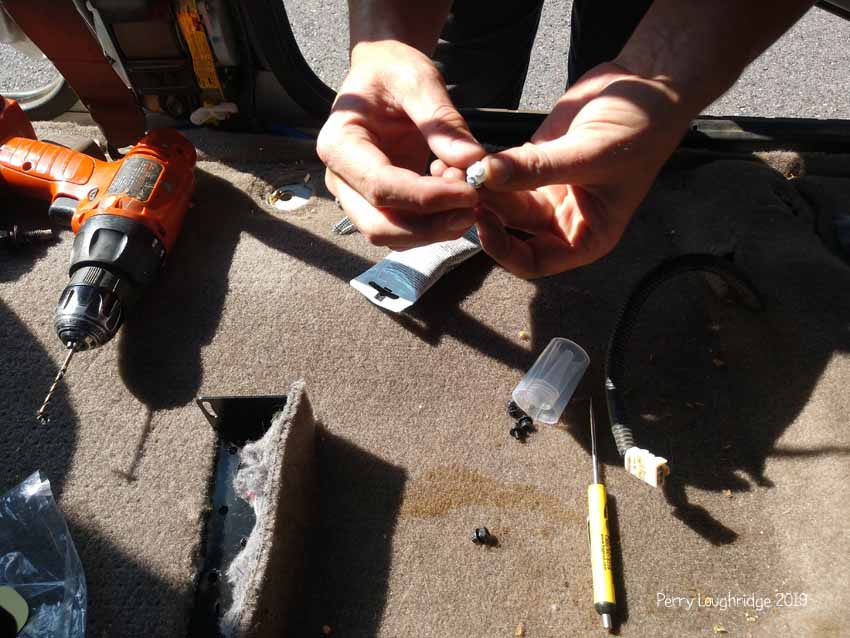
We used silicone on the screws for the bracket as the screws would be going into the body of he truck.
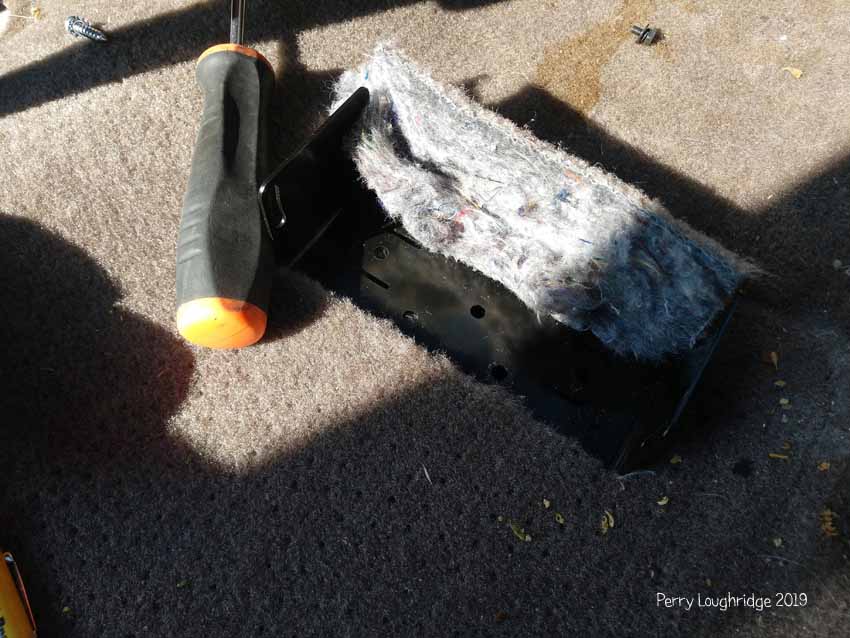
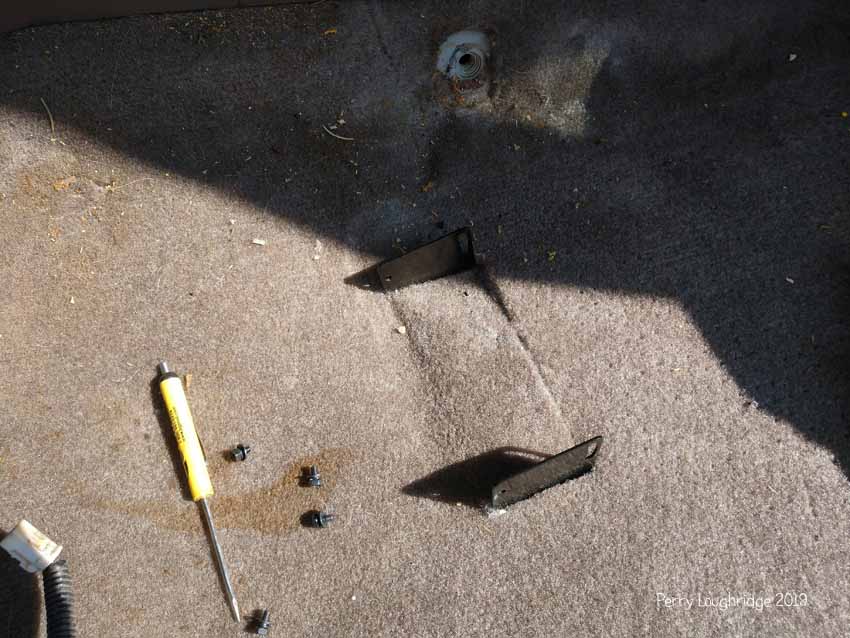
Bracket installed.
Running the wired for the head unit to the base of the radio.
Base of the radio all mounted up.
Head unit mounted up to the Panavise dash mount.